Deploy Astro on Render
Host your site for free in minutes.
You can deploy your Astro site on Render for free.
How you deploy depends on whether your site includes server-side logic (SSR, API routes, etc.):
See instructions for each service type below.
Not sure if you have a server-side component?
Check your project's astro.config.mjs file. If it sets output: 'server' or output: 'hybrid' (removed in Astro v5), deploy as a web service.
Static site (no server-side logic)
Sites without a server-side component use Render's static site service type.
Static sites are served over a global CDN. They include fully managed TLS certificates and support custom domains out of the box.
-
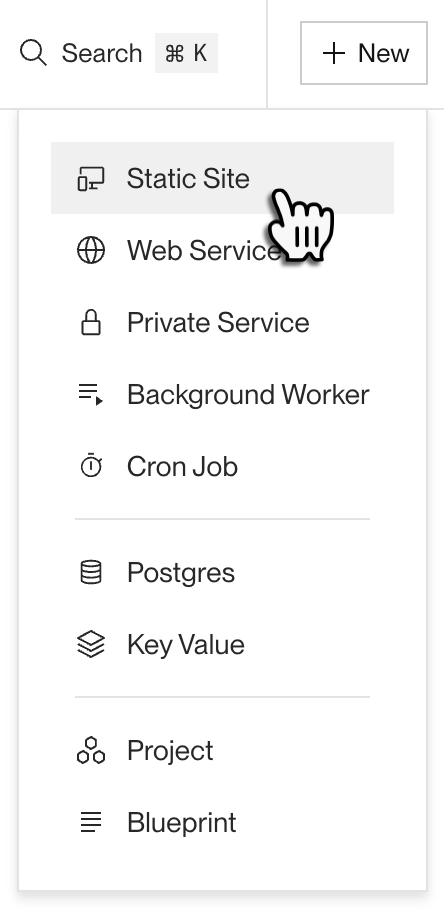
In the Render Dashboard, click New > Static Site:
-
In the creation form, connect your Astro project's GitHub repository.
- (GitLab and Bitbucket work too.)
-
For your site's Build Command and Publish Directory, set the following:
Setting Value Build Command
npm install && npm run buildIf you use a different package manager (such as
bun,pnpm, oryarn), use its equivalent command instead.Publish Directory
dist -
Click Deploy Static Site. Render kicks off your site's first build and deploy.

That's it! Your site will be live at its onrender.com URL as soon as the deploy finishes:

As next steps, you can add a custom domain to your site and set up pull request previews.
Web service
Astro sites with a server-side component use Render's web service service type.
Web services support both horizontal and vertical scaling. They include fully managed TLS certificates and support custom domains out of the box.
-
If necessary, update your Astro project to use the
@astrojs/nodeadapter if you currently use a different adapter:After making this change, push it to your repository.
-
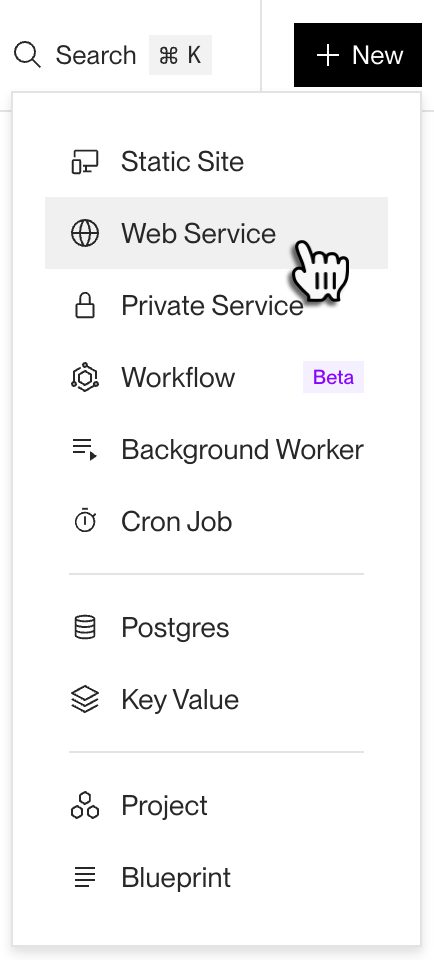
In the Render Dashboard, click New > Web Service:
-
In the creation form, connect your Astro project's GitHub repository.
- (GitLab and Bitbucket work too.)
-
For your web service's Build Command and Start Command, set the following:
Setting Value Build Command
npm install && npm run buildIf you use a different package manager (such as
bun,pnpm, oryarn), use its equivalent command instead.Start Command
node dist/server/entry.mjsIf you've customized your site's builds, confirm this path by building your site locally and checking the output of the
buildcommand. -
Set your service's Instance Type to Free.
- You can upgrade to a paid instance type at any time.
- Learn more about free instance types.
-
Under Environment Variables, add the following variables:
Name Value HOST0.0.0.0(By default, dynamic Astro sites bind to
127.0.0.1(i.e.,localhost). Render web services must bind to0.0.0.0instead.)NODE_VERSION(optional)Optionally set this to the version of Node.js you want to use for your site.
Newly created services use Node.js
24.14.1by default. -
Click Deploy Web Service. Render kicks off your service's first build and deploy.

That's it! Your site will be live at its onrender.com URL as soon as the deploy finishes:

As next steps, you can add a custom domain to your site and set up pull request previews.