Projects and Environments
Organize your services and set environment-level controls.
Render projects enable you to organize your services by application and environment:
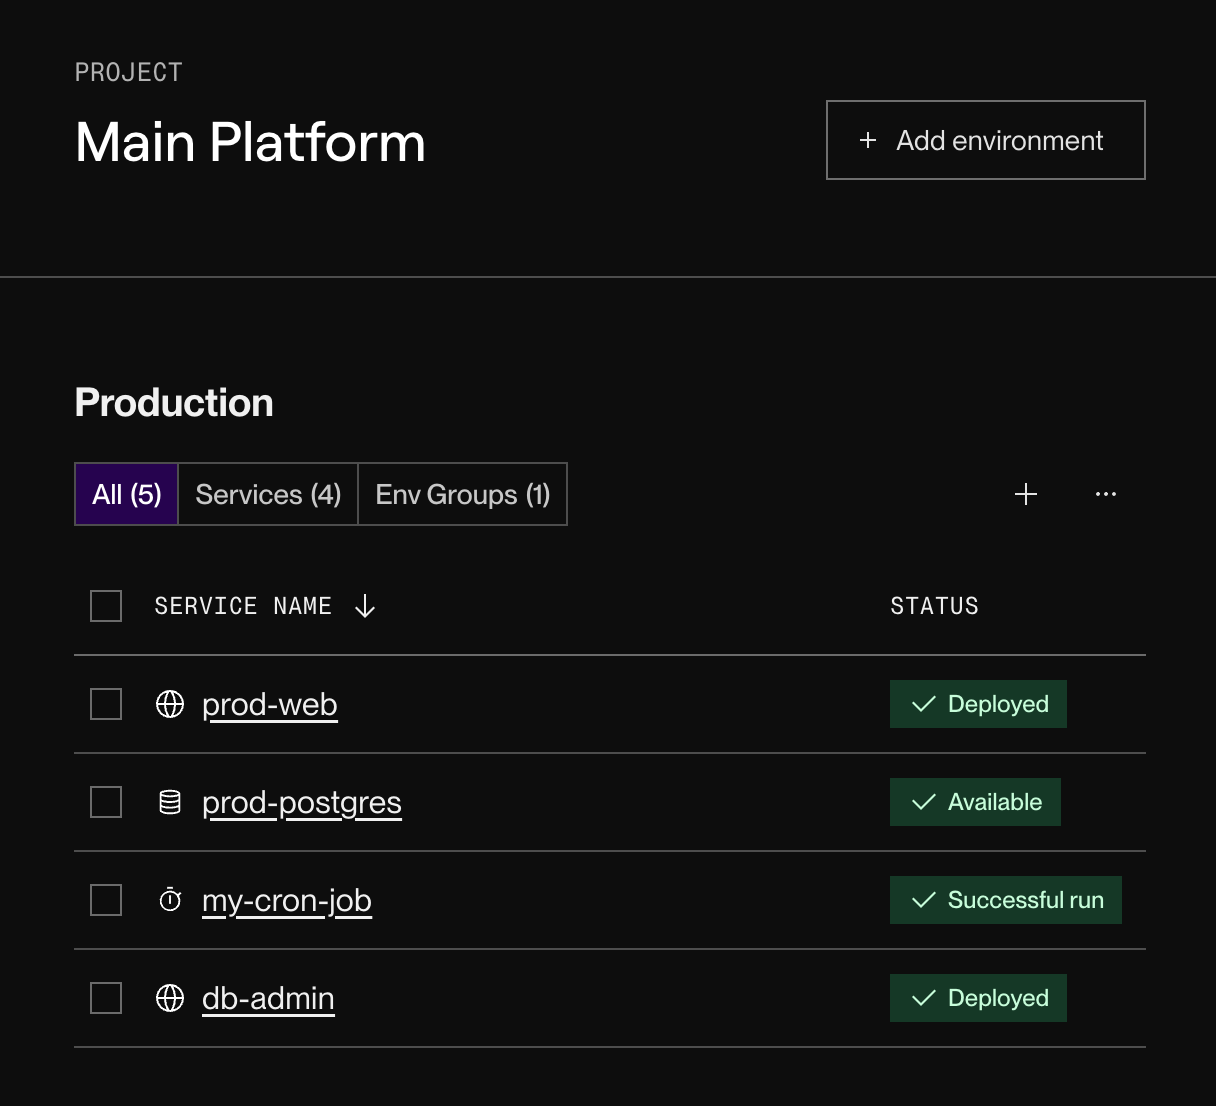
For example, one of your applications might include a static site, a GraphQL backend, and a database. By adding all of these services to the same project, you can find and manage them more quickly.
Each project has one or more environments (such as Production in the screenshot above). If you run staging and production versions of your app, you can add each version's services to a different environment.
You can also set environment-specific controls:
- Define environment variables and secret files that only services in a single environment can access.
- Prevent your staging services from inadvertently using a production-specific credential (or vice versa).
- Designate an environment as protected so that only your workspace's admins can make potentially destructive changes to its resources.
- Block private network traffic from entering or exiting a specific environment.
- Prevent your staging services from inadvertently accessing a production database (or vice versa).
Setup
Hobby workspaces can have up to one project with up to two environments.
To create additional projects or environments, upgrade your workspace.
Create a project
-
In the Render Dashboard, click New > Project:
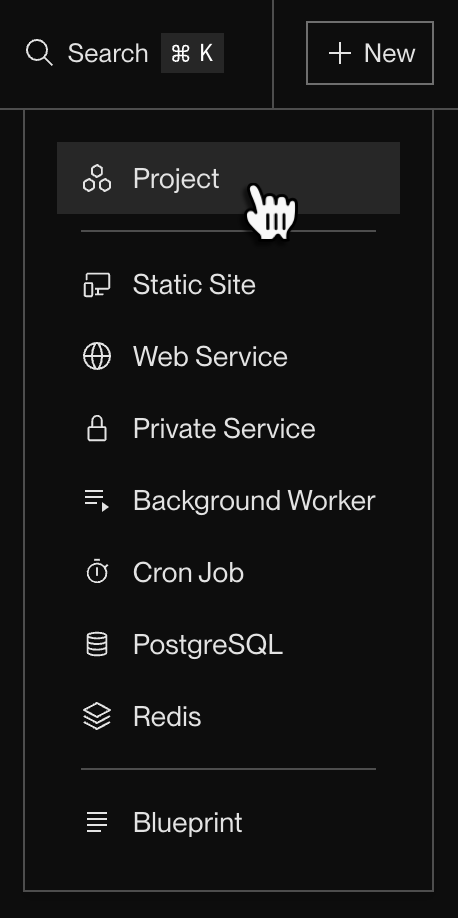
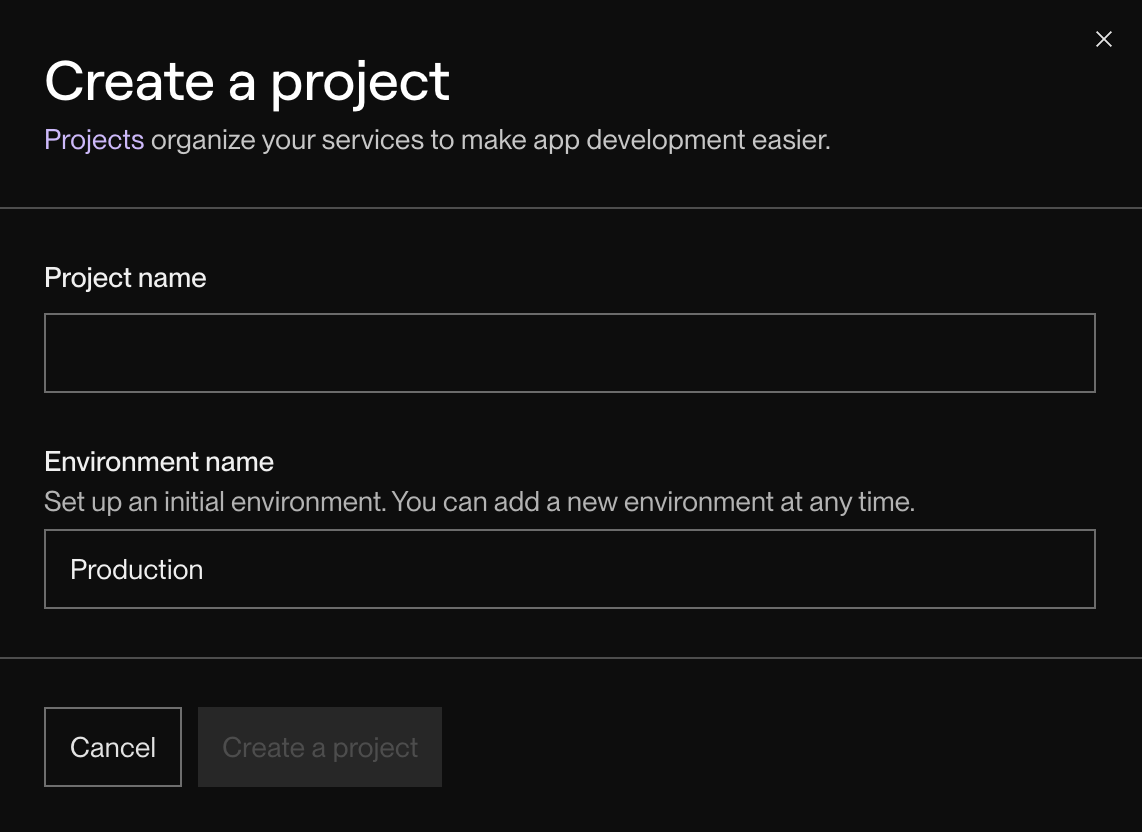
The following form appears:
-
Provide a name for your new project, along with a name for its first environment.
- Both of these names are for your own informational purposes. You can change them later.
-
Click Create a project.
That's it! You're redirected to the page for your new project.
Add services to an environment
If an environment in your project is empty, it displays buttons for creating a new service or moving some of your workspace's existing services into the project:
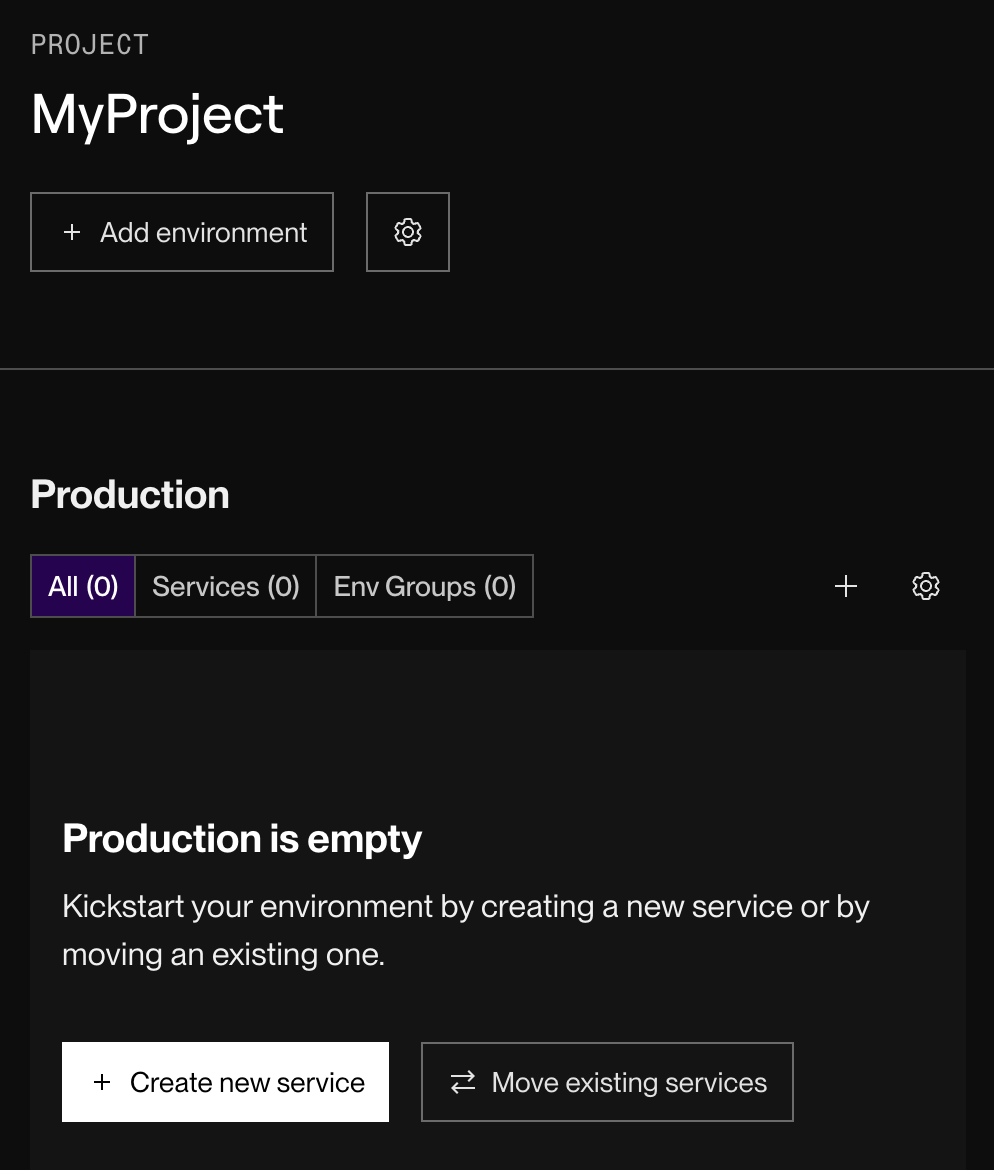
You can specify a new service's associated project and environment during the creation flow.
You can bulk-move services to an environment by selecting them in your workspace's service list and then clicking Move:
You can also move an individual service by opening its ••• menu and clicking Move.
Open a project
Your workspace's homepage in the Render Dashboard lists all projects at the top:
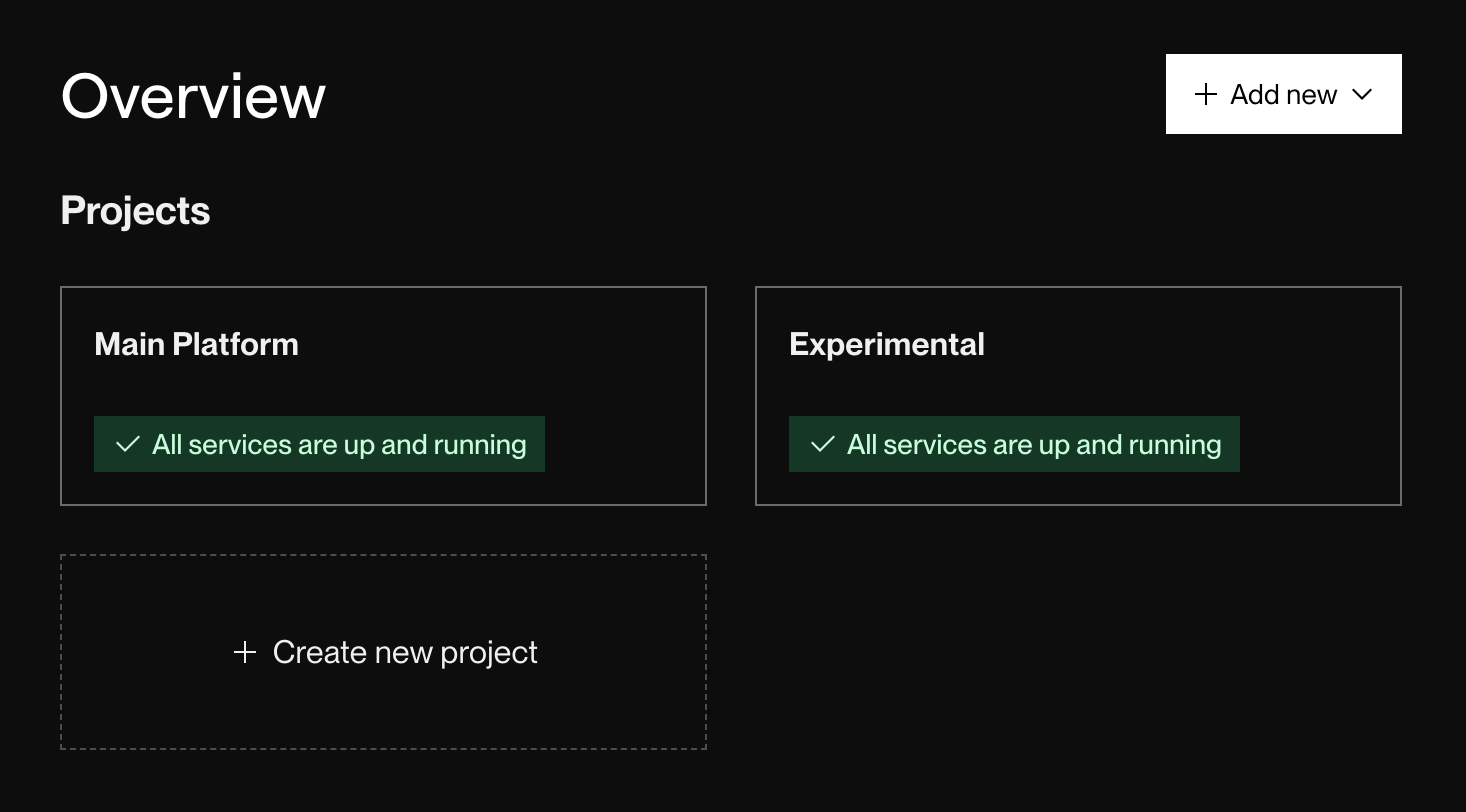
Click a project to open it. Services belonging to a project appear on that project's page, not on your workspace's homepage.
Modify a project
- To add an environment to a project, click + Add environment at the top right of the project's page.
- To configure an existing environment, click the ••• menu at the top right of that environment's section on the project's page.
- To rename or delete an entire project, click Settings in the left pane of the project's page.
Important:
- Deleting a project deletes all of its associated environments and services.
- Deleting an environment deletes all of its associated services.
Blueprint support
Blueprints (Render's infrastructure-as-code model) support creating projects and environments, along with assigning your resources to them:
For details, see the YAML reference.
Environment-specific controls
Scoped configuration
Environment groups are a helpful way to share environment variables and/or secret files across multiple services in your workspace.
You can optionally scope an environment group to a single project environment. This helps you share configuration across multiple services in that environment, while also ensuring that services in other environments can't use that environment group.
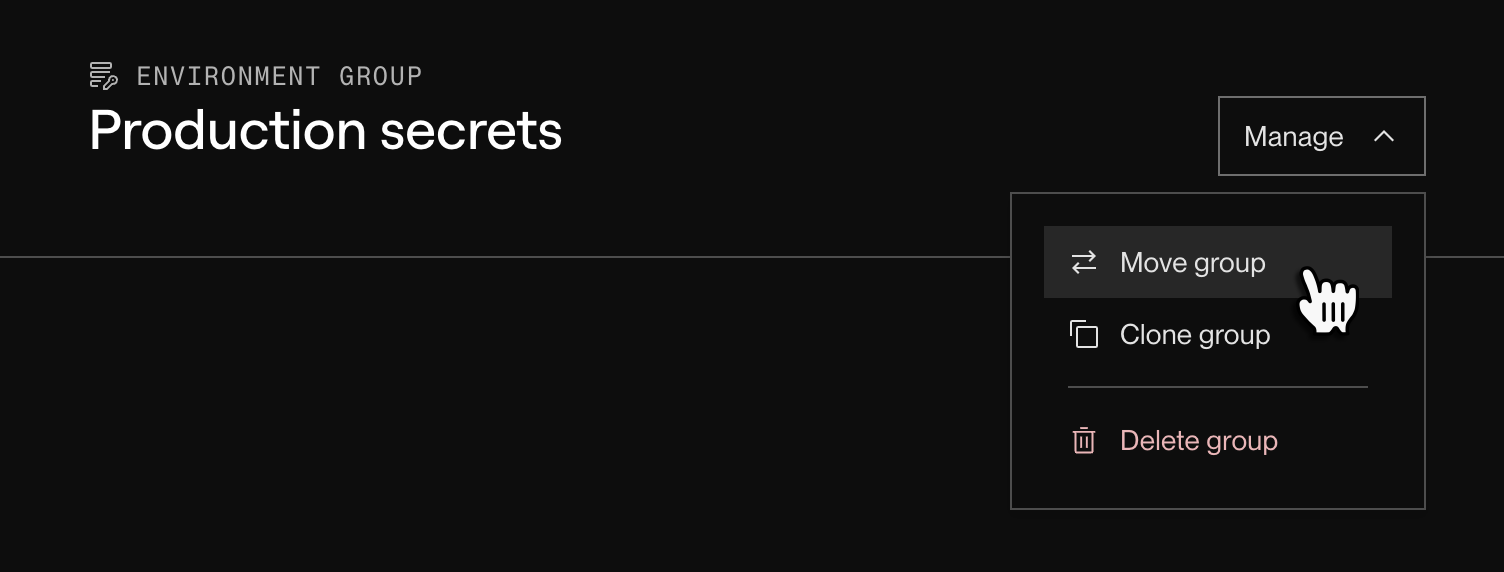
Move an environment group into a project environment from the group's info page by clicking Manage > Move group:
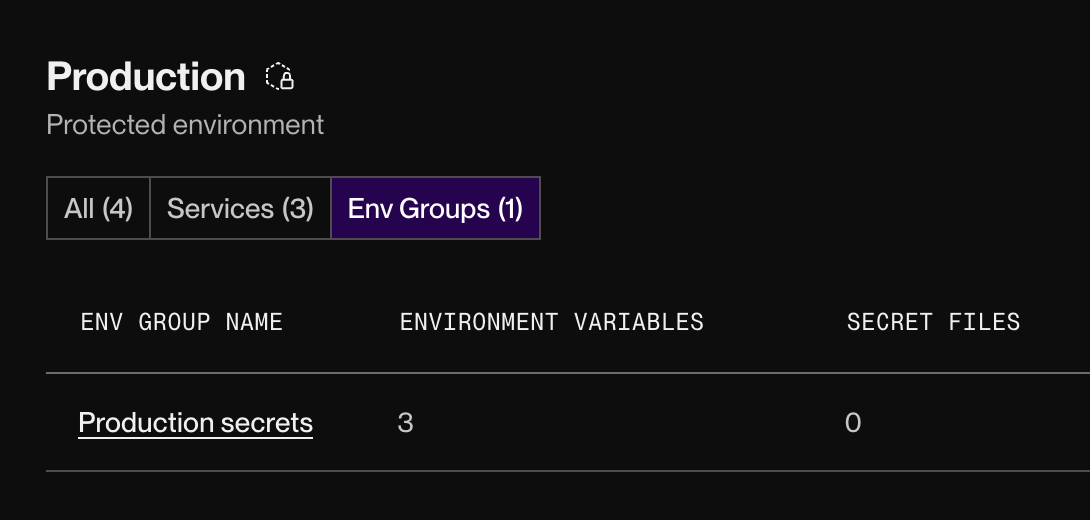
After you move your environment group, it appears on the corresponding project's overview page:
Protected environments
Workspace members with the Admin role can designate any project environment as protected. This restricts other members from performing potentially destructive actions (listed below).
Steps to configure
-
Go to your project's page in the Render Dashboard and scroll to the environment you want to configure.
-
Click the ••• menu at the top right of the environment, then click All settings.
-
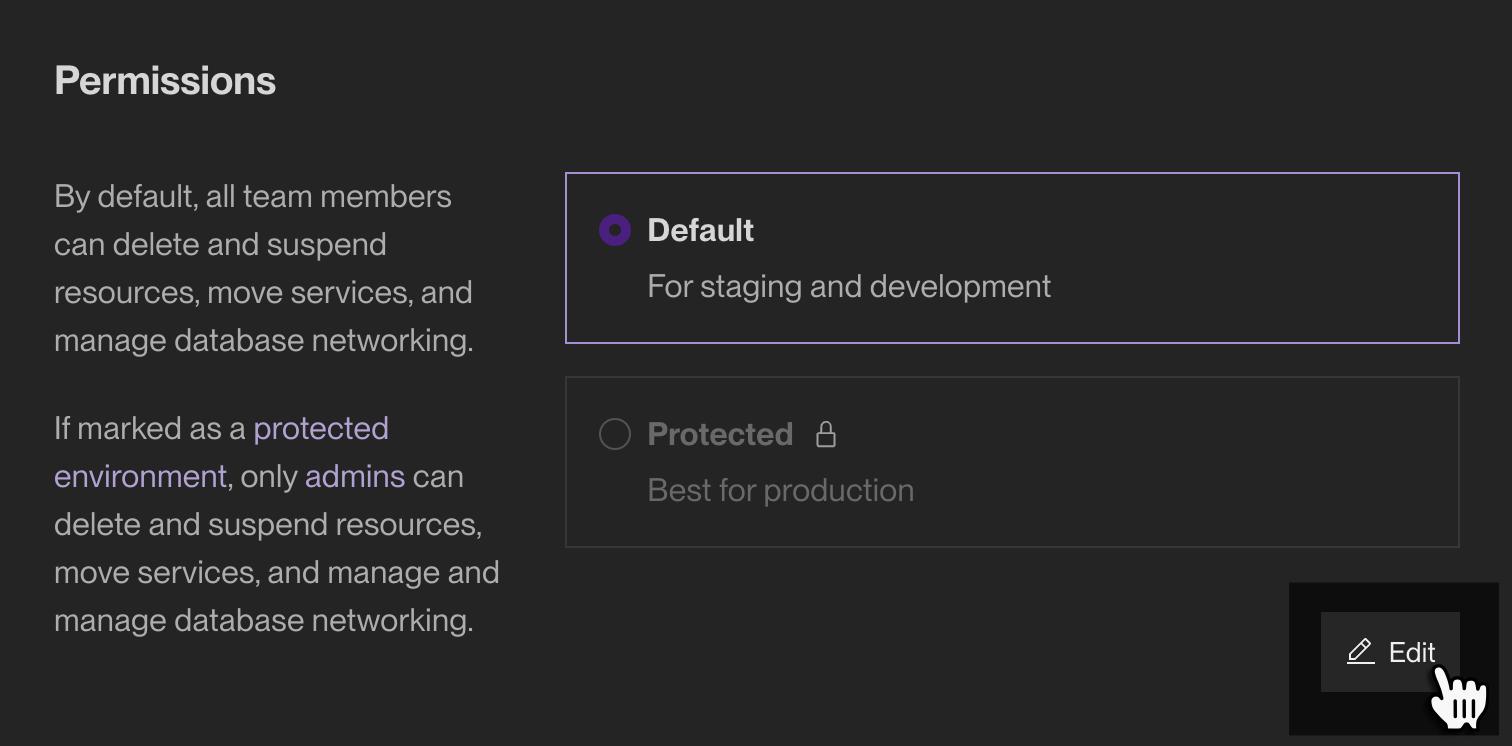
Scroll down to the Permissions section and click Edit:
-
Select Protected and click Save.
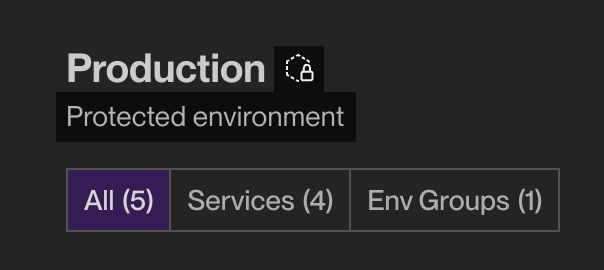
Protected environments display a label and a lock icon on your project's page in the Render Dashboard:
Restricted actions
Important: If your protected environment includes resources that are managed via Blueprints, non-Admin workspace members can still modify those resources by publishing an update to the corresponding render.yaml file.
Only Admin workspace members can perform the following actions in a protected environment:
Resource management
- Deleting any of the environment's resources (services, environment groups, etc.), or deleting the environment itself
- Creating new resources in the environment
- Moving resources into or out of the environment
Operational controls
- Modifying access control IPs for any Render Postgres or Key Value instance in the environment
- Suspending or resuming any service in the environment
- Toggling maintenance mode for any service in the environment
- Accessing the shell for any service in the environment
Secret values
- Viewing or modifying environment variables or secret files for any service or environment group in the environment
- Viewing passwords or connection URLs for any Render Postgres or Key Value instance in the environment
Blocking cross-environment traffic
By default, all of your Render services in the same region can communicate over their shared private network.
You can configure an environment to block private network traffic from crossing its boundary. If you do, services within the environment can still communicate:
This helps you prevent your staging services from inadvertently accessing a production resource (or vice versa).
This setting only affects private network traffic.
- Web services and static sites in the environment can still receive public internet traffic at their
onrender.comsubdomain, including traffic originating from your services outside the environment. - Render Postgres and Key Value instances in the environment can still receive traffic at their external URL from allowed IPs.
- Workspace members can still access services in the environment over SSH.
- In a protected environment, only Admin workspace members can access the shell for services in the environment.
Steps to configure
Toggling this feature does not trigger any deploys or cause any interruptions for your running services.
-
Go to your project's page in the Render Dashboard and scroll to the environment you want to configure.
-
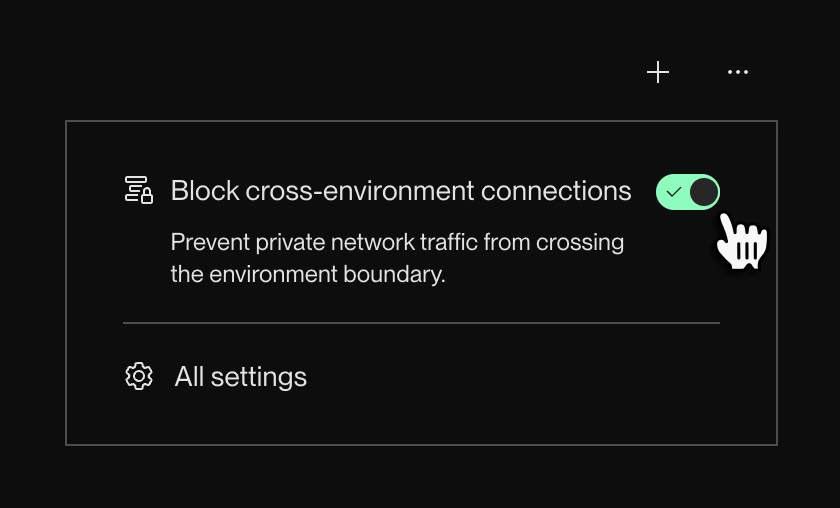
Click the ••• menu at the top right of the environment, then toggle Block cross-environment connections:
Enabling this feature does not terminate any active network connections.
To ensure that all existing connections are terminated, you can restart your services in the environment.
You're all set! Your environment now blocks private network traffic from crossing its boundary.
Environment-level IP rules
Enterprise orgs can set inbound IP rules for all services in a particular environment. These rules apply to inbound connections from the public internet.
For details, see Inbound IP rules.
FAQ
Does an environment named 'Production' or 'Staging' have special restrictions or capabilities?
No. Render does not apply special logic to any environment based on its name. The examples above use "Production" and "Staging" because they're common.
Will my service behave differently after I add it to a project?
Possibly. If you've configured any environment-specific controls for the service's corresponding environment, those controls apply to the service.
For example, if the service's environment blocks cross-environment network traffic, the service can no longer communicate over your private network with services outside the environment.
Can I use projects and environments with Blueprints (Render's infrastructure-as-code model)?
Yes. You can define projects and environments in your render.yaml file, then assign new and existing resources to them.
For details, see the YAML reference.
Are preview environments tied to projects?
No. You manage your workspace's preview environments with Blueprints, not projects. A preview environment can include services that belong to any number of different projects.
Can I use the same service name in multiple project environments?
No. All of a workspace's services must have unique names—even services that belong to different project environments.