Render Blueprints (IaC)
Manage your Render infrastructure with a single YAML file.
Blueprints are Render's infrastructure-as-code (IaC) model for defining, deploying, and managing multiple resources with a single YAML file:
+ Show example Blueprint
# This is a basic example Blueprint for a Django web service and# the Render Postgres database it connects to.services:  - type: web # A Python web service named django-app running on a free instance    plan: free    name: django-app    runtime: python    repo: https://github.com/render-examples/django.git    buildCommand: './build.sh'    startCommand: 'python -m gunicorn mysite.asgi:application -k uvicorn.workers.UvicornWorker'    envVars:      - key: DATABASE_URL # Sets DATABASE_URL to the connection string of the django-app-db database        fromDatabase:          name: django-app-db          property: connectionString
databases:  - name: django-app-db # A Render Postgres database named django-app-db running on a free instance    plan: free
A Blueprint acts as the single source of truth for configuring an interconnected set of services, databases, and environment groups. Whenever you update a Blueprint, Render automatically redeploys any affected services to apply the new configuration (you can disable this).
As your infrastructure grows over time, Blueprints become more and more helpful for managing changes and additions to it.
Do not manage a particular service, database, or environment group with more than one Blueprint.
If you do this, Render always attempts to apply the configuration from whichever Blueprint was synced most recently. If the Blueprints differ in their configuration, this can result in unpredictable behavior for your services.
To avoid this scenario, make sure that each of your resources is managed by at most one Blueprint.
Setup
-
From the root of a Git repo, create an empty file named
render.yaml.- Every Blueprint file uses the name
render.yamland resides at the root of a Git repo.
- Every Blueprint file uses the name
-
Populate
render.yamlwith the details of the resources you want to create and manage.- If you're testing out Blueprints, try pasting the example Blueprint at the top of this page.
- See also the complete Blueprint specification reference.
-
Commit and push your changes to GitHub or GitLab.
-
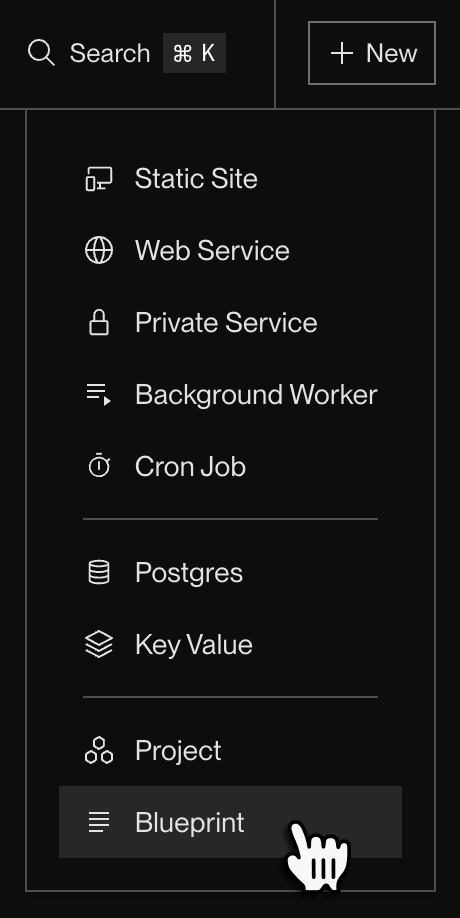
Open the Render Dashboard and click New > Blueprint:
-
In the list that appears, click the Connect button for whichever repo contains your Blueprint.
-
In the form that appears, provide a name for your Blueprint and specify which branch of your repo to link.
- Each push to this branch that modifies
render.yamltriggers a deploy of any added or modified resources.
- Each push to this branch that modifies
-
Review the list of the changes that Render will apply based on the linked Blueprint:
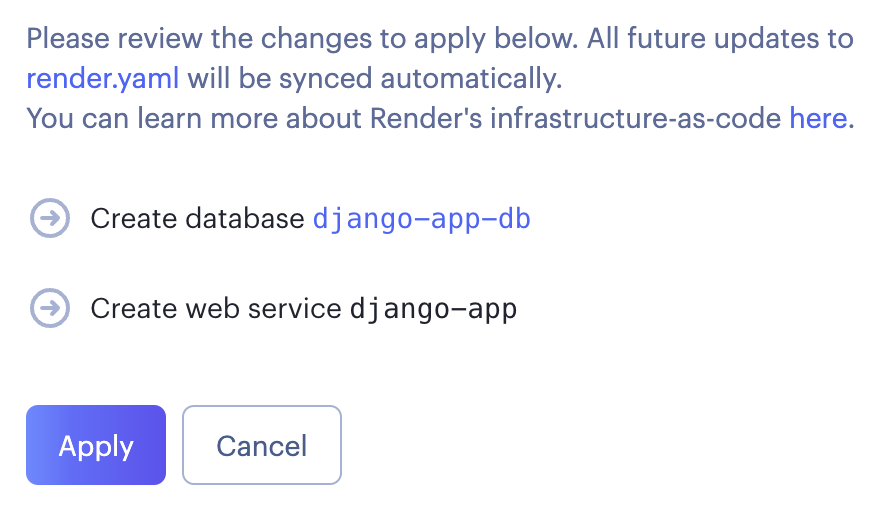
If your Blueprint file contains errors, the page instead displays details about those errors.
-
If everything looks correct, click Apply.


You're all set! Render begins provisioning the resources defined in your Blueprint:

Generating a Blueprint from existing services
You can generate a render.yaml file using any combination of your existing Render services. This is useful if you want to start managing those exact resources with a Blueprint, or if you want to replicate those resources.
In the Render Dashboard, select any number of your services, then click Generate Blueprint at the bottom of the page:

This opens a page where you can download or copy the generated render.yaml file. The page provides additional instructions for creating a Blueprint from that file.
Important: For security, the generated render.yaml file includes the names of all defined environment variables for the selected services, but not their values. Instead, the file sets sync: false for each environment variable.
If you use your render.yaml file to create a Blueprint with new services instead of your existing ones, you'll need to provide values for these environment variables. For details, see Setting environment variables.
Replicating a Blueprint
You can create multiple Blueprints from a single render.yaml file. Each Blueprint creates and manages a completely independent set of resources.
The Blueprint creation flow displays a notice if your new Blueprint matches existing Render resources:

To replicate your Blueprint with a separate set of resources, click Create New Resources. Render appends a suffix to the name of each new resource to prevent collisions with your existing resources:

Click Apply to create the new resources as usual.
Managing Blueprint resources
Adding an existing resource
Do not add an existing resource to a Blueprint if it's already managed by another Blueprint.
Doing so can lead to unpredictable behavior for your services.
You can add an existing Render resource to your Blueprint. To do so, add the resource's details to your render.yaml file as you would for a new resource. See all supported fields and values for each service type in the Blueprint specification reference.
Make sure to include all configuration options that are currently set for the resource in the Render Dashboard. For most services, this includes the service's name, type, plan (instance type), buildCommand, startCommand, and so on. If you omit some of these options, your Blueprint will use a default value that almost definitely differs from your service's existing configuration.
When you next sync your Blueprint, Render applies the new configuration to the existing resource. The resource retains any existing environment variable values that aren't overwritten by the Blueprint.
Modifying a resource outside of its Blueprint
You can still make changes to a Blueprint-managed resource in the Render Dashboard. However, if any of those changes conflict with configuration defined in the Blueprint, they're overwritten the next time you sync your Blueprint.
Even if you delete a Blueprint-managed resource in the Render Dashboard, Render recreates it the next time you sync your Blueprint! See Deleting a resource.
Deleting a resource
Syncing a Blueprint never deletes an existing resource. This is true even if you remove a resource definition from your Blueprint file, or if you disconnect your Blueprint from Render entirely. This is a safeguard against accidental deletions (for example, if you revert your Blueprint to a commit that predates the addition of a critical resource).
To delete a Blueprint-managed resource, first remove it from your Blueprint, then delete it in the Render Dashboard as usual.
If you delete a resource in the Render Dashboard but keep it in your Blueprint, Render recreates that resource the next time you sync your Blueprint.
Disabling automatic sync
By default, Render automatically updates affected resources every time you push Blueprint changes to your linked branch.
To instead control exactly when you sync a particular Blueprint, set Auto Sync to No on your Blueprint's Settings page:

You can then manually trigger a sync by clicking Manual Sync on your Blueprint's page.
Supported fields and values
See the complete Blueprint specification reference.