Hey, cool news: Render now supports deploying a Docker image directly from a container registry! If you already build and push Docker images in CI, your Render services no longer need to spend time also building those same images. This can significantly speed up your Docker-based deploys 🚀
What it looks like
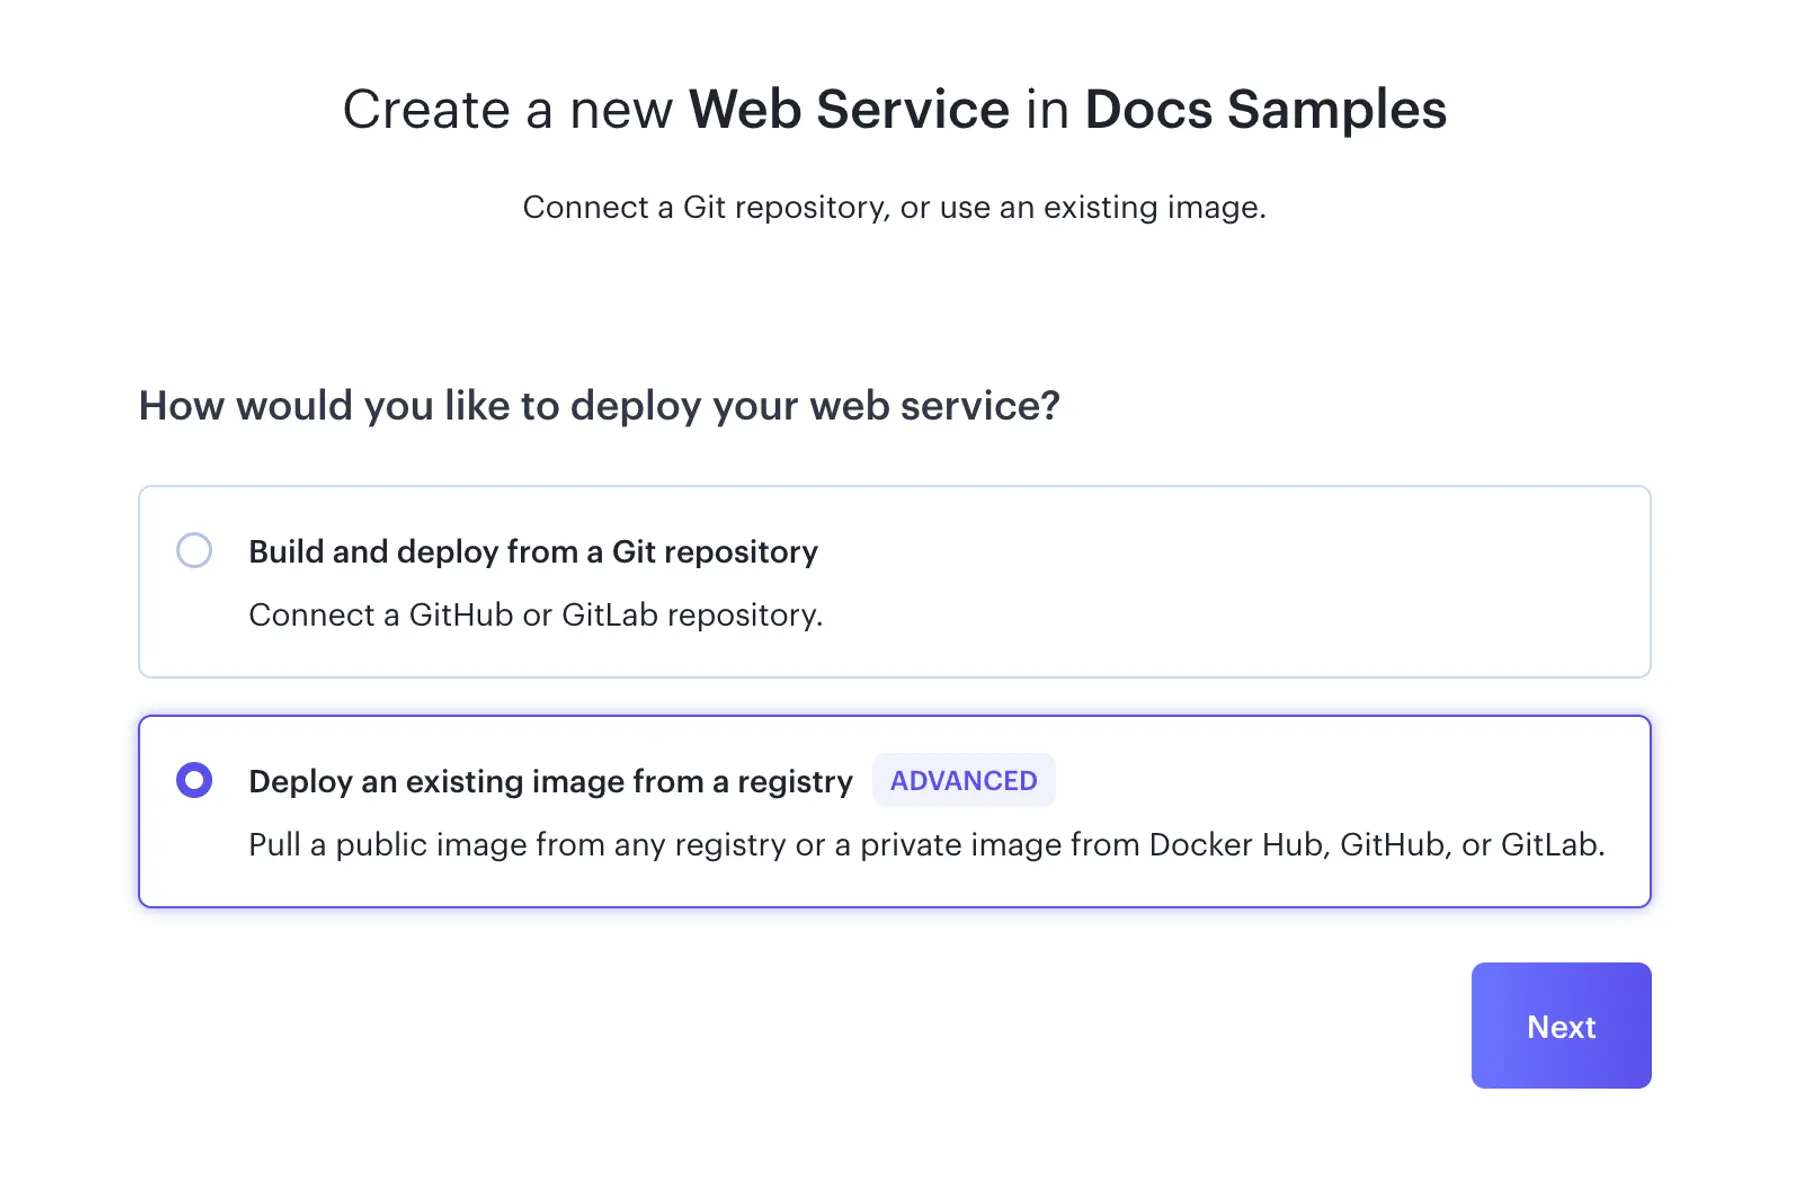
When you create a new Render service from your dashboard, we now ask whether you want to deploy from a Git repo or a container registry:

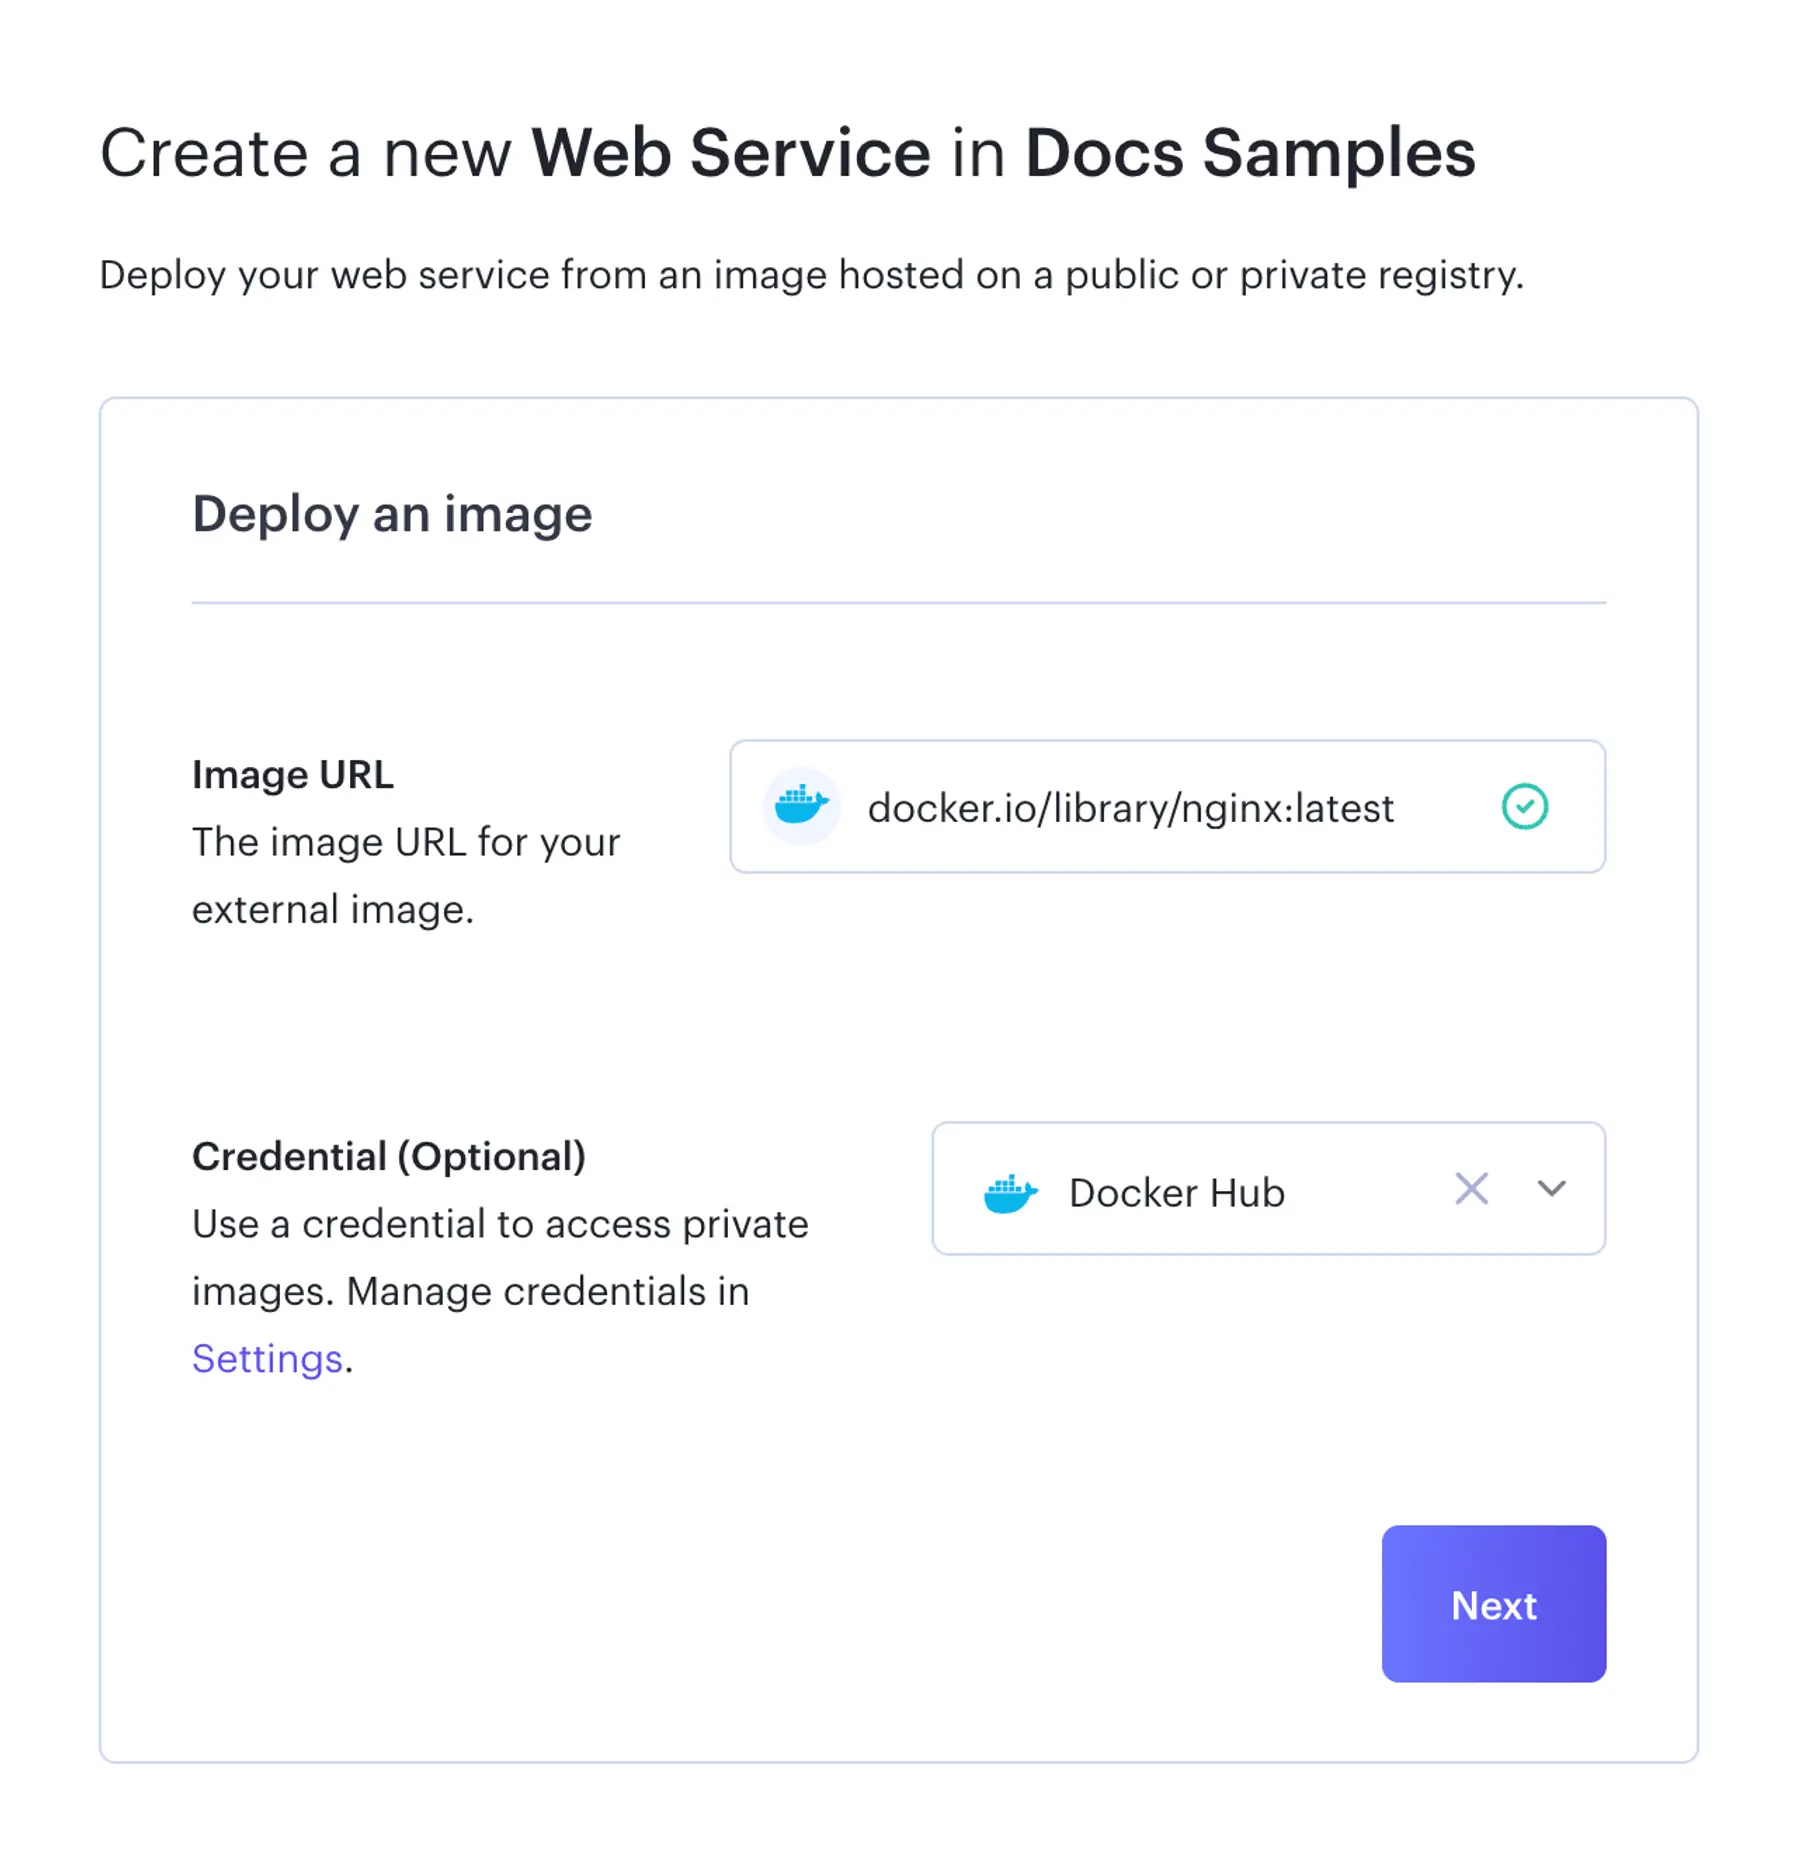
You can deploy a public image from any registry, and you can deploy your private images from Docker Hub, GitHub, or GitLab by adding your credentials:

When you provide your Docker image's URL, you can specify either a particular tag (such as latest above), or a digest like so:
A digest always targets the exact same image, whereas a tag might target new images over time. Use whichever strategy is right for you! You can change the tag/digest later.
Differences from Git-backed deploys
These new image-backed services behave almost exactly like your existing Git-backed services: you can scale them up and down, add a persistent disk, and set environment variables and secrets.
However, image-backed services do differ from Git-backed services in a couple of important ways:
- Redeploys: Git-backed services automatically redeploy with changes to their associated branch. Image-backed services aren't connected to a Git repo, so you instead trigger redeploys manually or programmatically. See redeploy options.
- Build previews: Git-backed services can automatically generate (and later delete) preview instances for every opened pull request. To manage preview instances of an image-backed service, you use Render's REST API.
Build it there, run it here
We're happy to build your image from a Dockerfile, but we're just as happy not to! With image-backed deploys, Render can slot into your existing build pipeline without needlessly duplicating work.
Excited to deploy your first image? Head over to your dashboard and check out the docs for all the extra details.