Render takes your infrastructure problems away and gives you a battle-tested, powerful, and cost-effective cloud with an outstanding developer experience. Focus on building your apps, shipping fast, and delighting your customers, and leave your cloud infrastructure to us.
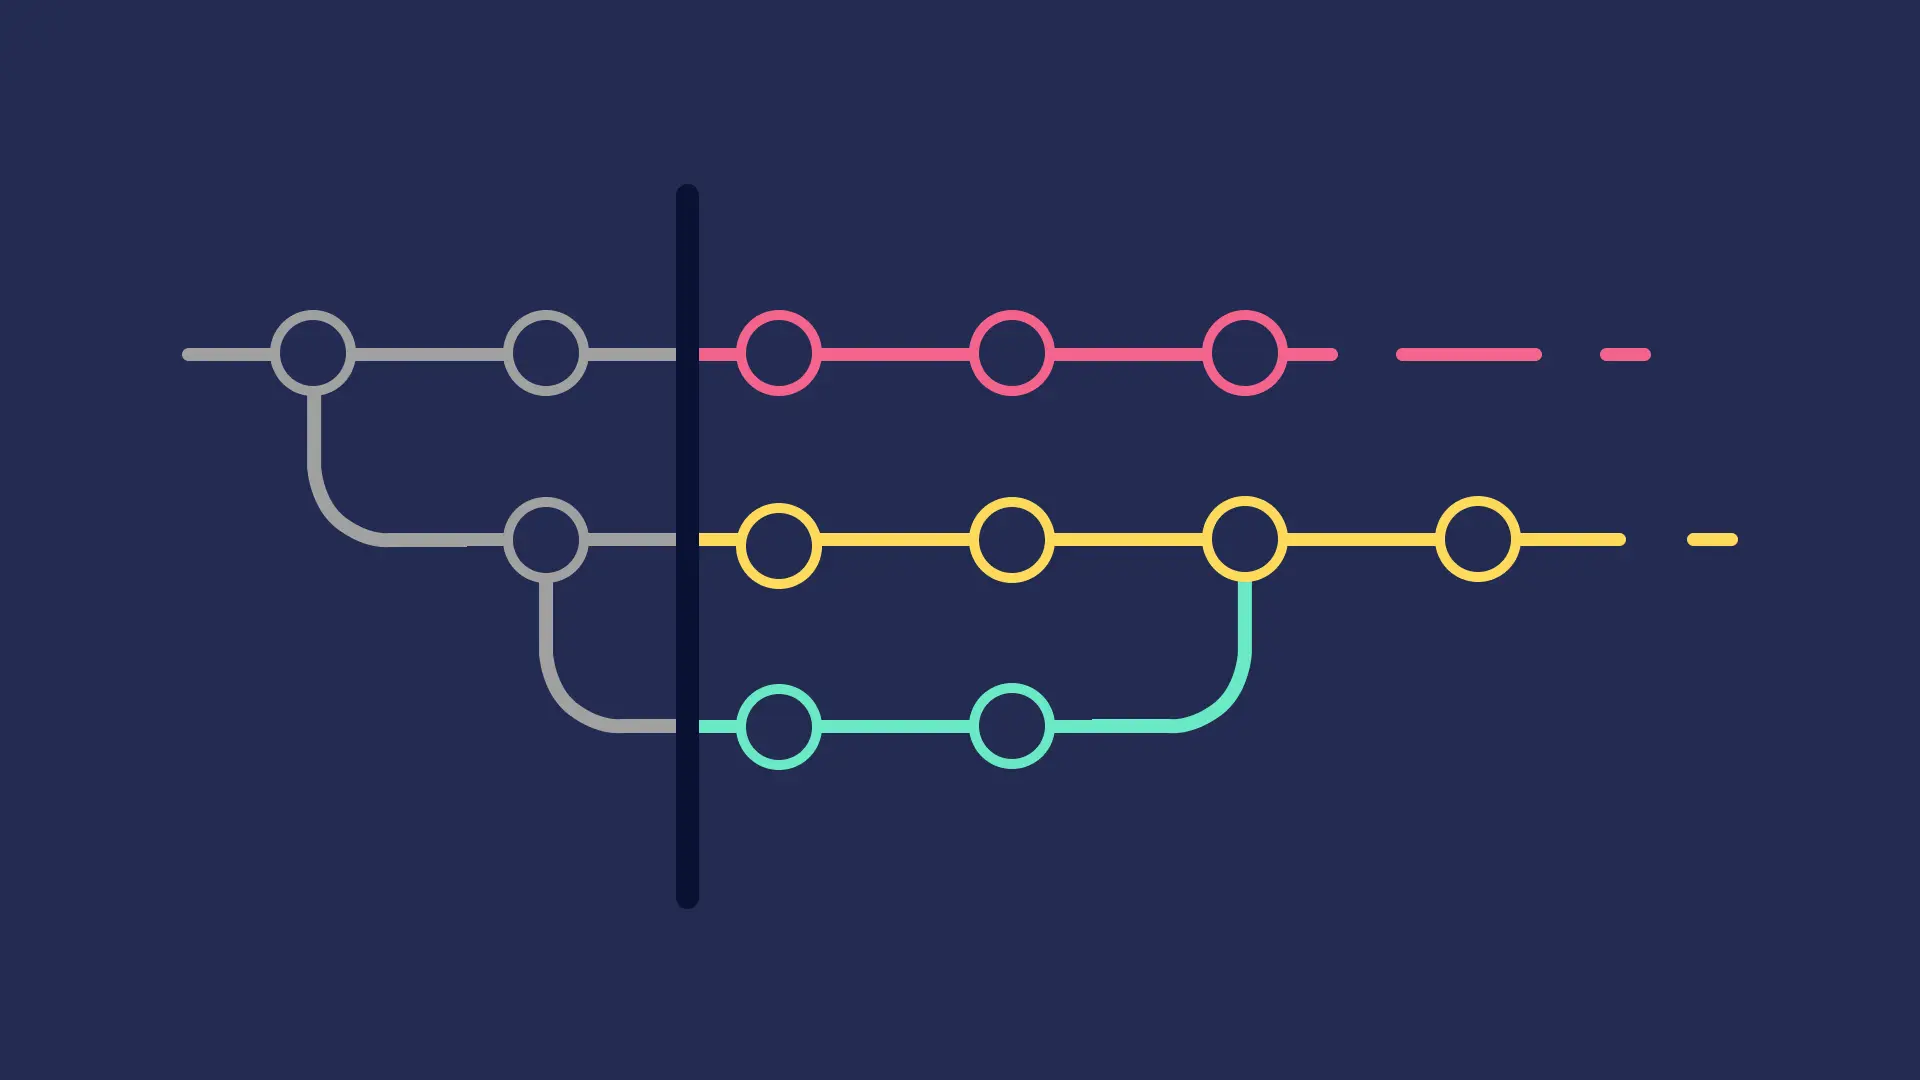
Imagine this: you've been paged to investigate a production incident, and after some digging, you identify the commit with the breaking code. You decide to revert the change:Unfortunately, in doing so, a new bug is introduced! As it turns out, hidden in that old "broken" commit was some code that another part of the app depended upon, and when you reverted those lines, it left the site once again in a broken state. 🙃 Oh dear.How can situations like this be avoided? To answer this question, we first need to examine how these types of commits come to be.
A Common Git Flow
Let's take a look at a common git flow when building a new feature:
Create a new branch off of main.
Create commits as you go to save your work and fix bugs you find along the way.
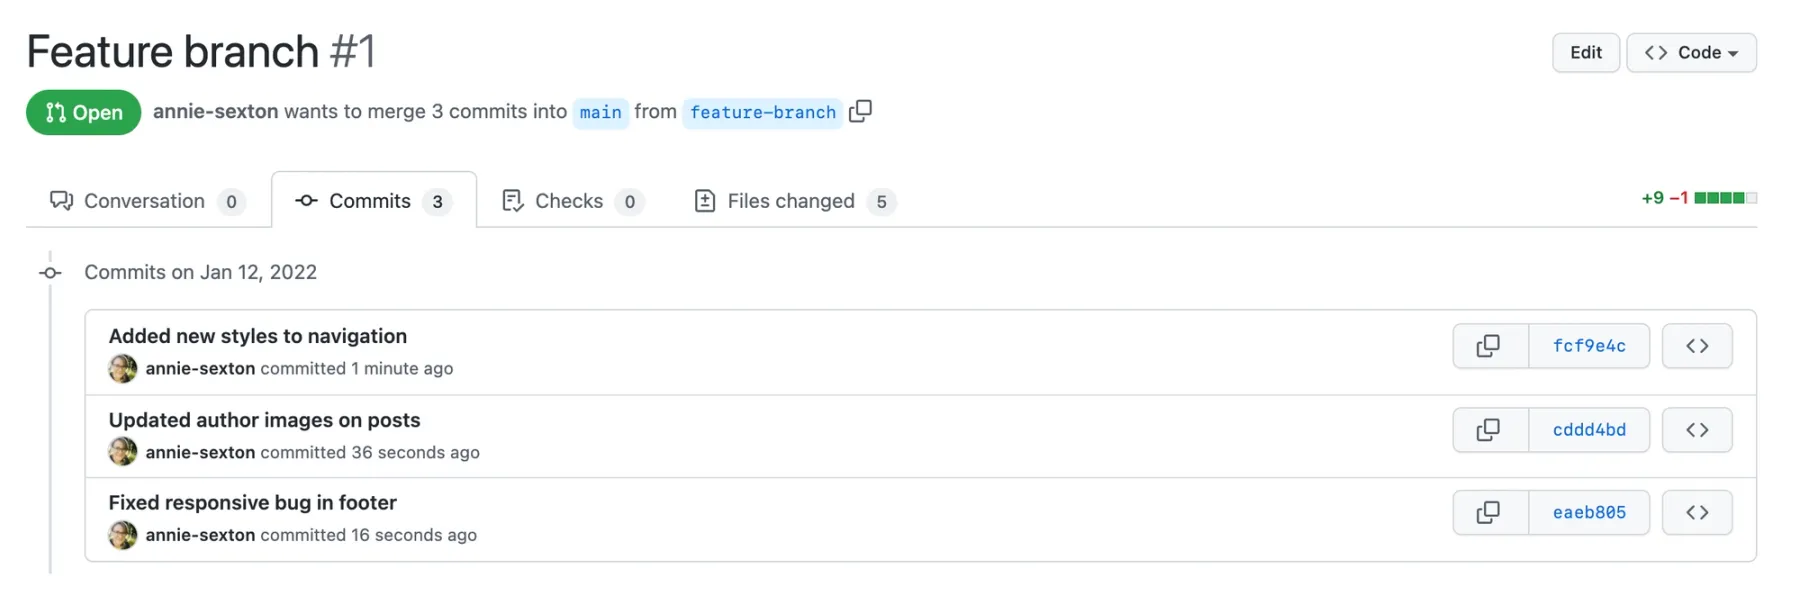
When the feature is complete, make a pull request.
Merge branch into main once PR is approved.
This flow might feel quite familiar to you, and that's fine. It's how many of us were taught to work with git. However, there are two problems with this approach. The first problem we've already discussed is that some commits may contain incomplete work when you simply commit as you go. This makes reverting quite risky.The second problem is that it can make reviewing pull requests very tedious. For example, what if you've been asked to review a recent PR in which the author states that, on top of adding a new feature, they fixed an unrelated bug as well. The PR consists of changes across dozens of files. Looking at each commit individually does not illuminate which changes pertain to the bug fix and which are for the new feature. Additionally, you notice some changes that seem unrelated to anything in the description of the PR. Clearly, this will not be a quick review.Now, as lovely as it would be for each commit to neatly relate to only one change, that's a tall order to fill when you're in the midst of development. Tangents and rewrites are just part of the process. Our work is rarely so linear, and our git commits tend to reflect this.So how can we guarantee that our git history is tidy and easily reviewable while also accepting the somewhat tangential nature of development? By modifying this basic git flow just slightly, we can create a better process that accomplishes just this.
An Improved Git Flow
The following approach was inspired by my coworker, Dan Wendorf, whose git flow tends to revolve around one core principle: do the work first, clean up the commits later. The benefit of this flow is that it separates the engineeringwork from the commit writing. In the end, we'll be left with a sequence of commits that are logically grouped, each relating to one main change in the code, thus cleaning up our git history and paving the way for a quicker PR review.We can break it down into three steps, as follows.
Step 1: Make your changes
The first step isn't too different than before. Start by creating a new branch and getting to work on making your changes. Don't worry too much about writing descriptive commit messages just yet, as these won't be included in your final PR. For now a simple, "work in progress" or "WIP" message will do, or something that will help you remember what was in that commit like "WIP: Started building new model". The purpose of these commits are to make sure you don't lose work and provide some general guideposts along the path of that work.In this step, it's okay to leave the codebase in a broken state or to commit half-baked features. This will all get cleaned up later.
Step 2: Reset
Once you've finished making your changes, it's time to prepare your work for some "git clean up." To do this, we'll run the following command:Without any extra arguments, git reset won't change the working tree, so your code won't change — all the work you've done will still be there. But because you've reset to an older commit, git status will show all the changes you've made since you started building your feature. It will look like you did all the work but never made any of those "WIP" commits earlier.In case you get in over your head here, don't worry — you can always bring back your original commits! Every commit you make lives in your .git folder, even after a reset. Even though it might seem like they've disappeared, they're still there, hiding.If you want to go back to a commit where things weren't broken, git reflog will show you a timeline of every commit you've referenced in your local repository, even across branches. Run git reflog to find the commit you want to return to and then run git reset <commit-sha>. This command will point the HEAD of your current branch to that commit, and you're back in business!From here, we're ready to start making our new commits.
Step 3: Create new, logically-grouped commits
Now, take a look at all the files you've changed. Are there any that you can logically group? For example, all the dependency updates or changes related to a particular model. There's no "right" way to group files, so use your best judgment here. Add these files to your staging area, and make a commit describing the changes.If you haven't changed many files, you might not need more than one commit, but we can often make our pull requests much easier to review by splitting up our changes into human-readable, easy-to-follow commits.What if the same file contains multiple changes that should be grouped separately? It's possible to stage part of a file using git add --patch (or git add -p). Some code editors also provide a way to stage a range of changes rather than a whole file.Be mindful of not leaving your codebase in a broken state during this step. Remember, a huge reason we're cleaning up our commits in the first place is so that nothing will break if we ever want to revert our changes. After making one of these new commits, you can git stash the rest of the unstaged changes and test that everything's still in working order. If you realize you should have included another file in that commit, you can git stash pop to bring back the other changes, git add the missing file, and perform a git commit --amend . This command will replace the last commit with a new one with the same description, including the old commit and the change you just made.
The Final Result
Once you've split your work into logically grouped commits, you're ready to create your pull request! The final result is a set of changes that your colleague can review one commit at a time in manageable chunks.The benefit of this git flow is that it allows for the fluidity of typical development while also providing some much-needed order to maintain the repository's history.